
How Does Mold inspection Work After a Flood?
Mold inspection: Your first step after water damage
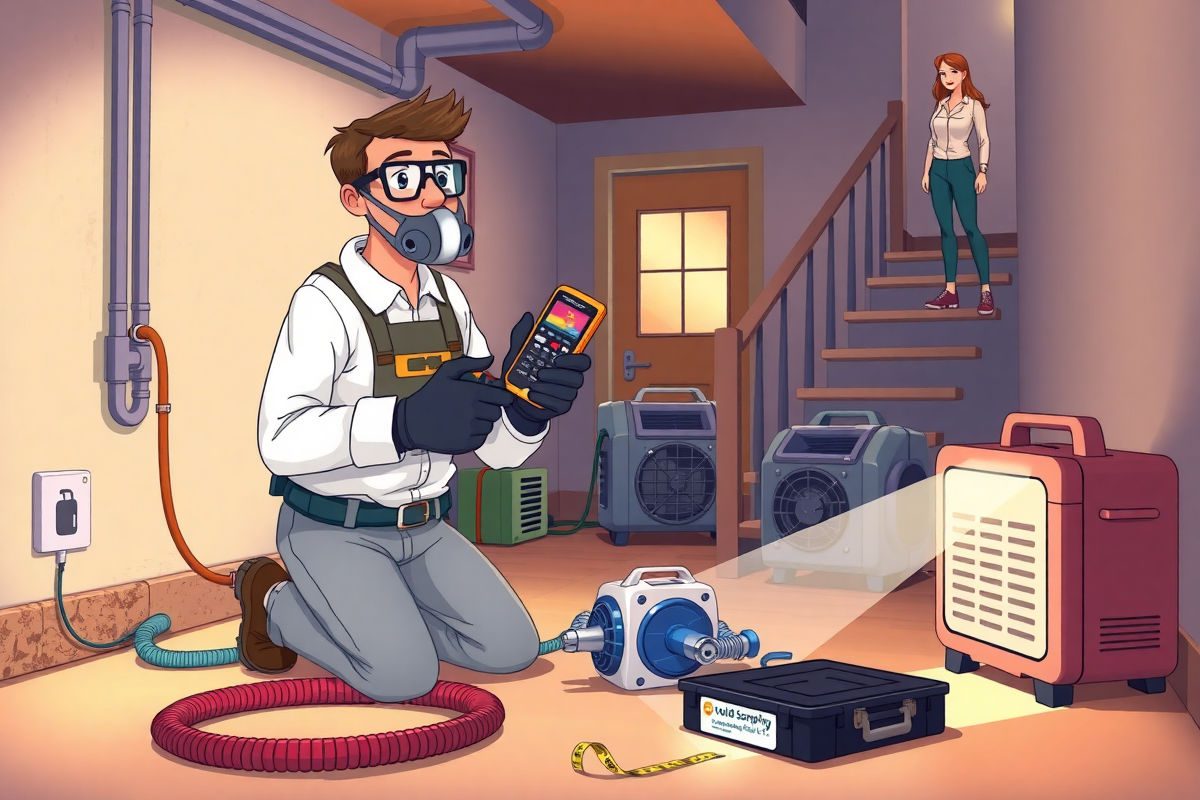
A musty smell, dark spots, or a sudden rash often signals a hidden problem. Mold inspection is the first decisive step to protect your home and health after water damage. Certified professionals use moisture meters, thermal imaging, and air testing to find hidden dampness and mold spores before they spread.
Because mold can take hold within 24 to 48 hours, acting quickly prevents structural damage and indoor air quality problems. However, DIY testing kits cannot match professional accuracy or equipment. Therefore, this guide explains what to expect from a professional mold inspection, how inspectors locate the source of moisture, and when to call for mold removal and remediation.
You will learn the inspection process, common signs to watch for, and how insurance involvement and financing options can help. Also, we highlight 24/7 emergency response and reliable services like GTA Restoration that use modern tools to inspect without destructive work. Read on for clear steps and practical tips to keep your home dry and safe.
Mold inspection techniques and tools — quick comparison
Below is a concise comparison to help homeowners and technicians choose the right mold inspection approach. For fast restoration resources, see fast restoration resources and fast plumbing services.
| Technique or Tool | What it does | Pros | Cons | Typical cost | Typical use cases and notes |
|---|---|---|---|---|---|
| Visual inspection | Walkthrough and surface check for stains, discoloration, and musty odors |
|
|
Free to $200 (inspection fee) | First step for all mold inspection jobs; good for spotting obvious problems |
| Moisture meter | Measures moisture in walls, floors, and materials |
|
|
$50 to $600 for tools; often included in professional inspections ($150 to $600) | Used to find active moisture sources and guide drying efforts |
| Thermal imaging camera | Detects temperature differences to reveal hidden damp areas |
|
|
$300 to $4,000 for cameras; $150 to $400 per inspection use | Best for locating concealed moisture and insulation gaps without demolition |
| Air sampling (spore trap) | Captures airborne spores to quantify contamination |
|
|
$150 to $500 per sample plus lab fees | Used when indoor air quality is questioned or for post-remediation clearance |
| Surface sampling (swab or tape lift) | Collects material from surfaces to identify mold type |
|
|
$30 to $150 per sample | Helpful to confirm visible mold type and concentration |
| Bulk sampling | Removes a small material sample for lab ID |
|
|
$100 to $400 per sample | Used when species ID affects remediation strategy or liability claims |
| DIY test kits | Home kits for spore or surface collection |
|
|
$10 to $40 | Only for preliminary awareness; do not rely on results for major remediation decisions |
| Intrusive inspection (open wall/floor) | Physically inspects cavities and structures |
|
|
$200 and up depending on repairs | Used when noninvasive tools indicate hidden moisture or mold |
| Data logging humidity sensors | Monitors relative humidity and temperature over time |
|
|
$30 to $300 per device | Use after drying or to identify intermittent moisture issues |
For health and cleanup guidance, consult authoritative sources such as the U.S. EPA and the CDC. These pages explain health risks and recommended actions after water damage.
Mold inspection: Why it matters for home safety and health
A professional mold inspection protects both people and property. Because mold spores affect indoor air quality, you may notice worsening allergies, respiratory irritation, or unexplained headaches. As a result, early detection keeps your home safer and reduces long term health risks.
Mold also undermines structural integrity. When mold consumes drywall, wood, or insulation, it weakens materials and can lead to costly repairs. Therefore, a timely inspection after water events is a key part of water damage mitigation and mold prevention.
Key reasons to get a certified mold inspection
- It finds hidden moisture that visual checks miss. Certified inspectors use moisture meters and thermal imaging to reveal damp pockets behind walls.
- It measures airborne spores. Air testing gives a room by room profile of contamination, and it supports clearance testing after remediation.
- It identifies the source of moisture. Because stopping the leak prevents recurrence, inspectors pair findings with repair recommendations.
- It informs insurance and remediation decisions. A clear report often speeds claims and guides professional mold removal.
“Mold testing is one of the most deliberate processes in keeping your house and health safe.” Use this idea to justify prompt action. Remember, mold can establish itself within 24 to 48 hours after materials stay wet. However, DIY testing kits cannot replace the accuracy of professional evaluation.
For trusted health guidance, see the U.S. EPA mold resources and the CDC guidance. For fast local response and inspection workflows, learn how restoration teams act quickly and how trained professionals coordinate repairs at.
Mold inspection methods and when to use them
Choosing the right mold inspection method prevents guesswork and speeds remediation. Because each method measures different risks, inspectors often combine approaches. Below are common mold inspection methods, short descriptions, and when each works best.
- Visual inspection
- What it is: Walkthrough looking for stains, discoloration, and musty odors.
- Use when: You see visible growth, smell mold, or after a flood. Also useful as the first step in any mold inspection.
- Notes: Fast and low cost, but it misses hidden problems.
- Moisture meters
- What it is: Pin or pinless devices that measure moisture levels.
- Use when: You suspect active leaks or damp materials. They guide drying and prioritize repairs.
- Notes: Essential for water damage mitigation and confirming drying progress.
- Thermal imaging (infrared)
- What it is: Camera that shows temperature differences caused by moisture.
- Use when: You need a noninvasive look behind walls or ceilings. It helps find concealed leaks.
- Notes: Works well with moisture meters for accurate results.
- Air sampling (spore traps)
- What it is: Collects airborne spores for lab analysis.
- Use when: Indoor air quality is a concern or after remediation to clear spaces.
- Notes: Provides quantitative data but requires lab turnaround.
- Surface sampling (swabs, tape lifts)
- What it is: Removes material for species identification.
- Use when: Visible mold needs identification, or legal documentation is required.
- Notes: Useful when species affects remediation approaches.
- Data logging humidity sensors
- What it is: Monitors relative humidity over time.
- Use when: You suspect intermittent moisture or need long term prevention data.
- Notes: Supports mold prevention strategies and HVAC troubleshooting.
Combine methods for the best results. For example, pair thermal imaging with moisture meters. Also, air sampling and surface swabs help quantify contamination. For rapid response workflows see and to learn how professionals coordinate repairs visit this link.
Conclusion
Mold inspection is the decisive action that protects your health and your home after water damage. Because mold can begin growing within 24 to 48 hours, early testing and professional evaluation reduce health risks and limit structural loss. This article covered detection tools, common mold inspection methods, and prevention strategies so you can act quickly and wisely.
Key takeaways
- Act fast after leaks or floods because moisture fuels mold growth.
- Use professional mold inspection methods such as moisture meters, thermal imaging, air sampling, and surface testing for accurate results.
- Prioritize both indoor air quality and structural repairs to stop recurring problems.
GTA Restoration offers certified technicians available 24/7 nationwide to assess, test, and remediate mold. Therefore, if you suspect mold after water damage, contact trained professionals for a full professional mold inspection and guided remediation plan. Also, working with experienced teams speeds insurance claims and restores safe indoor air quality.
Recommended Service: discover this trusted partner.
Company profile: This project provides practical and educational content on water damage mitigation and plumbing services across the United States. Our goal is to help homeowners understand the risks associated with leaks, floods, moisture, mold, and common plumbing issues. We share clear, accessible information on water cleanup, structural drying, damage inspections, mold prevention, and reliable plumbing solutions. All of our content is designed to support home safety and maintenance, backed by the availability of certified technicians in every state, ready to assist 24/7 nationwide. Nothing in our articles replaces professional evaluations, repairs, or recommendations from qualified specialists.
Online profiles:
Frequently Asked Questions (FAQs)
When should I schedule a mold inspection?
Schedule a mold inspection after any significant leak, flood, or if you notice musty odors or visible stains. Because mold can grow within 24 to 48 hours after materials stay wet, act quickly. Additionally, get an inspection before buying a home when previous water damage is suspected.
What are the common signs that mold is present?
Look for visible discoloration, peeling paint, warped flooring, persistent musty smells, or unexplained allergy symptoms. Also watch for recurrent condensation and high indoor humidity, which increase mold risk and harm indoor air quality.
Are DIY mold testing kits reliable compared to professional mold inspection?
DIY testing kits can give basic awareness, but they lack accuracy. Certified inspectors use moisture meters, thermal imaging, and air testing for precise results. Therefore, professional mold testing is recommended for health, remediation planning, and insurance claims.
How does a mold inspection protect my health and property?
A full inspection identifies the source of moisture, quantifies spore levels, and guides effective remediation. As a result, it limits structural damage and reduces respiratory and allergy risks.
What simple mold prevention strategies can I use?
Control humidity under 50 percent, fix leaks fast, ventilate bathrooms and laundry rooms, and dry wet materials within 48 hours. Use dehumidifiers and monitor conditions with data logging humidity sensors for long term prevention.